🛠️ Modding your Game Boy Advance
Recently I wanted to play Pokémon Fire Red 🔥 on original hardware, it is to say a Game Boy Advance (GBA) and not an emulator of any kind. Since I had a GBA SP (AGS-001) as a kid, I wanted to play on a standard GBA for the sake of “novelty”. However, the original GBA has a reflective screen. This type of screen does not emit its own light and needs an external light source (such as the sun for example). This makes the screen notoriously difficult to see since you need to orient it in a certain angle in order to see what it is displaying. More modern screen technologies include their own source of light. The first generation of GameBoy Advance SP (AGS-001) model features a frontlit screen. This is the same principle as the old reflective screen, except that light is emitted by a small led strip at the bottom of the screen. The latest GBA SP model (AGS-101) features a modern backlit screen, where the light source comes from behind the pixels. However, this GBA SP revision is rarer that the common AGS-001 frontlit model. In order to play in the best conditions but yet with original hardware, I will mod an original GBA to make a more up-to-date handheld console.
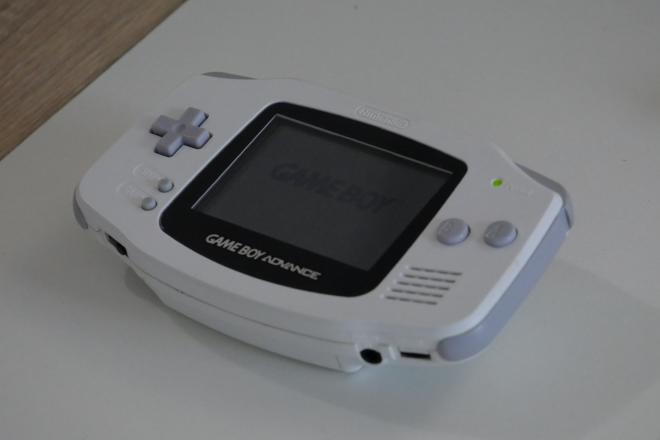
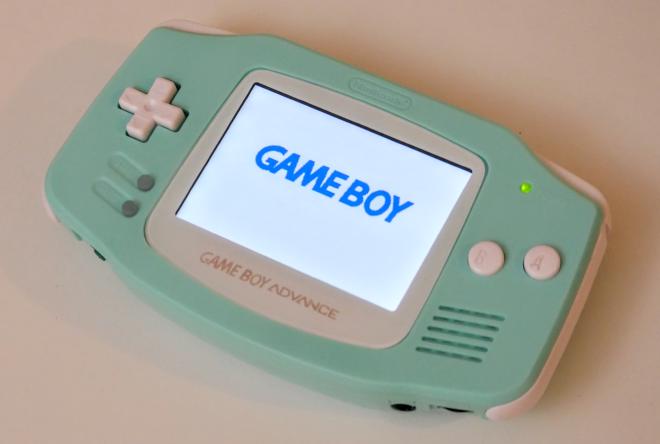
Modding a GBA #
As I told you, the main improvement point for the GBA is to replace the screen for a modern backlit LCD. However this is not the only thing you might want to change. Here is a list of all the parts I bought for my modding project. I ordered all my parts on Retro Moding , although you can buy them on various specialized websites as well Aliexpress.
Parts #
IPS LCD Screen : There are various LCD mods for the GBA, such as retrofitting a AGS-101 (second GBA SP version) screen, or a DSi lower screen (this mod is often called ITA : DSi to GBA ). However I went with the more modern FunnyPlaying IPS LCD V2, which supports brightness control provided that you solder a few wires (more on that later).
New shell : I decided to buy a new shell for 3 reasons. First, because I bought a second-hand Game Boy Advance and although the shell was in pretty good condition, I vanted to have a brand new shell feeling. Then because the LCD screen I bought necessitates some cuts in the original shell, and I wanted to preserve it. Fortunately FunnyPlaying also provides shell specifically moulded for their LCD. And finally, because there are a lot of color to choose from. So you can build yourself a nice-looking GBA!
New Buttons : Just to match your new shell!
New Silicone Pads : The original silicone pads might be a bit worn out so you might want to replace them. Moreover, if you want to use a clear case, you can choose colorful silicon pads. Bear in mind that your start and select buttons will the same color as the silicone pads (since they actually are a one-piece silicone pad)!
New Glass Lens : The FunnyPlaying IPS LCD V2 has slightly different dimensions from the old screen, so you need an appropriate lens. A glass lens will be more scratch-resistant than a plastic one, but it might shatter if dropped. Pick the one you like! There are several colors and variants as well.
USB-C Rechargeable Battery : The original Game Boy Advance used two AA batteries. Fortunately, you can now use a USB-C rechargeable battery pack that fits in the battery compartment. This battery pack fits in the FunnyPlaying shell without modification. If you use an original shell, you will need to trim a bit the battery compartment.
Building Process #
Disassembly #
First I started by fully dissasembling the original GBA. For this step you need two screw drivers. A standard philips screw driver and a tri-wing one (this type of screw is very oftenly used by Nintendo). This is an appropriate time to clean the PCB with isopropyl alcohol, especially the golden pads located under the buttons to make sure the silicon pads make good contact with them.
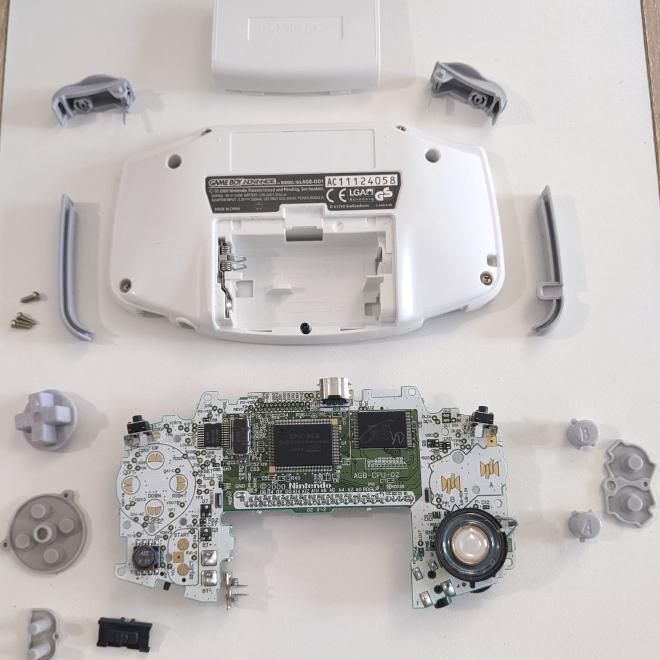
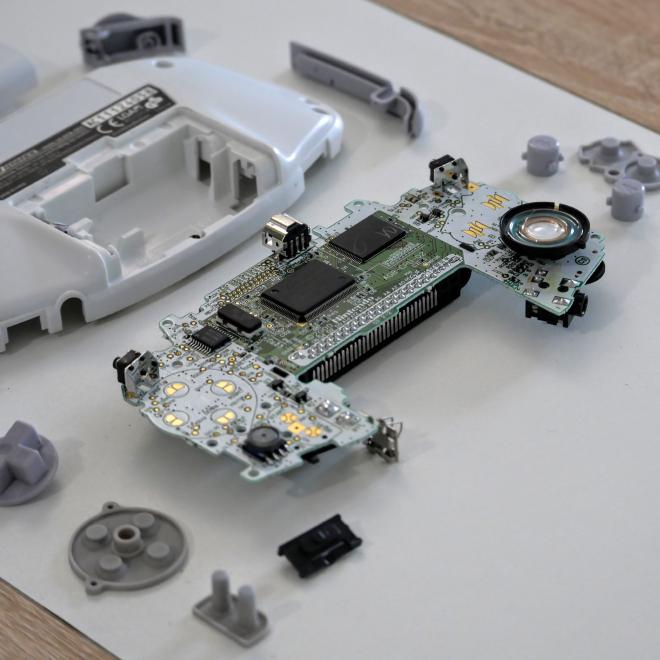
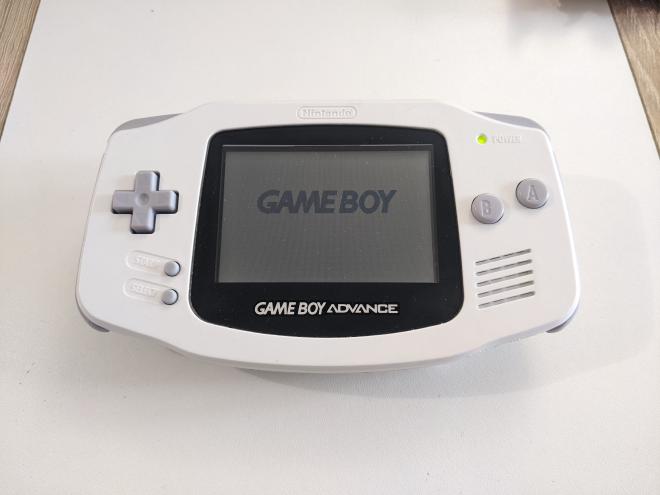
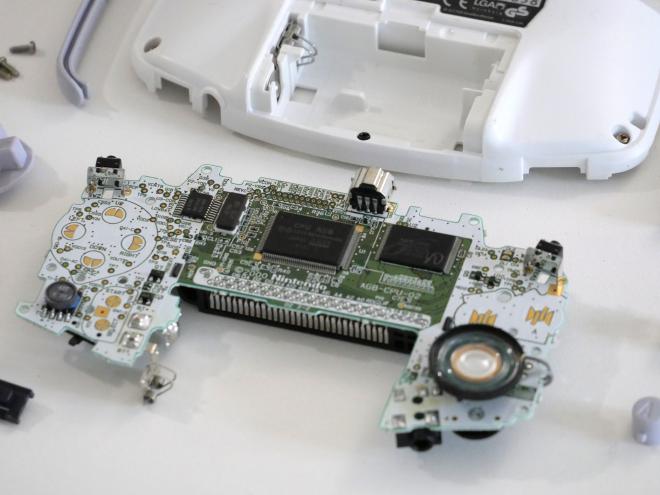
Although I did not take any pictures of this step, I advise you to test the screen at this step. Simply put the ribon cable of the new screen in the connector located at the top of the motherboard, and power up your GBA, just to confirm the screen is turning on and showing the Game Boy logo.
Assembly #
Once I confirmed the screen was ok, I soldered the three tiny wires that came with the screen. These wires are to be soldered on the motherboard to enable screen brightness control through select+L or select+R. I found easier to solder the wires to the ribon cable first and then to solder the other ends to the appropriate locations. I used a bit of duct tape (since I did not had any kapton tape) to secure the ribon cable in place on the back of the screen.
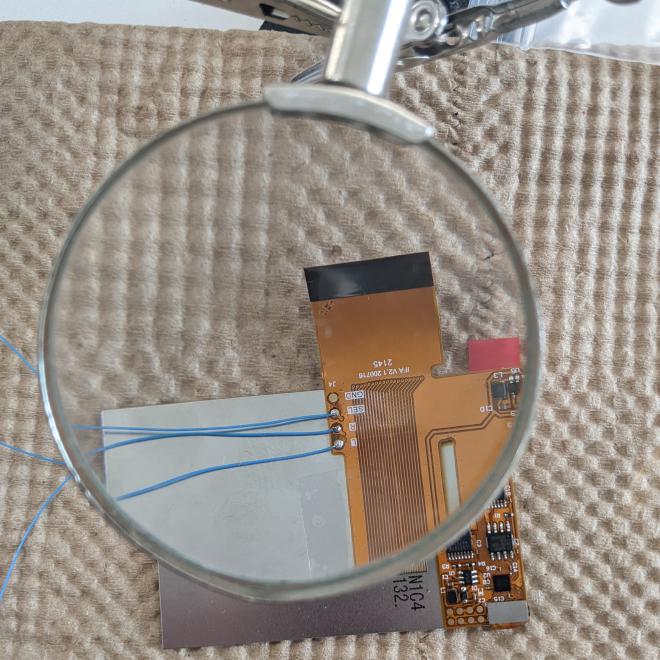
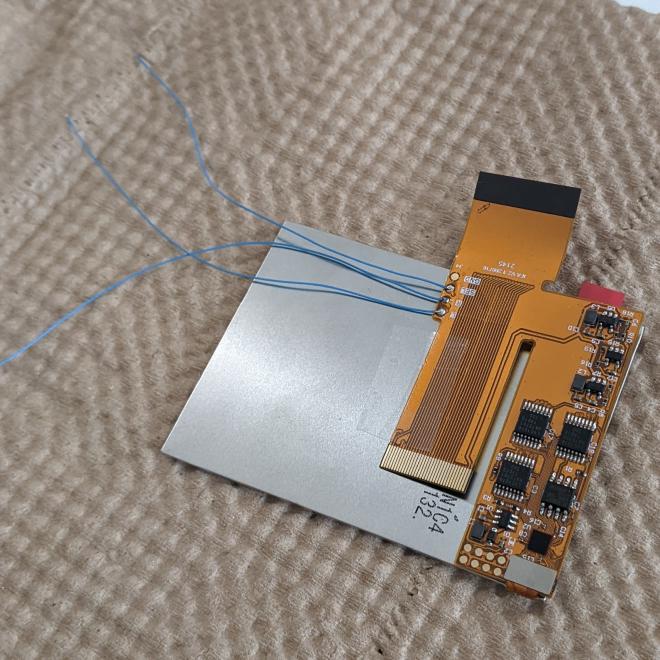
I placed the screen in the case (be gentle, you do not want to break the LCD pannel) and solder the wires to the motherboard. I used the foam pad that came with the screen. I made a small inscision in the foam pad to let the wires through. Do not forget to put the buttons and the silicon pads as well !
Depending on your motherboard revision, there are two possible screen connector. One with 32 pins and one with 40 pins. Mine was 40 pins, but if you have the 32 pins variant, just bend the ribon cable to expose the correct connector on the top of the screen.
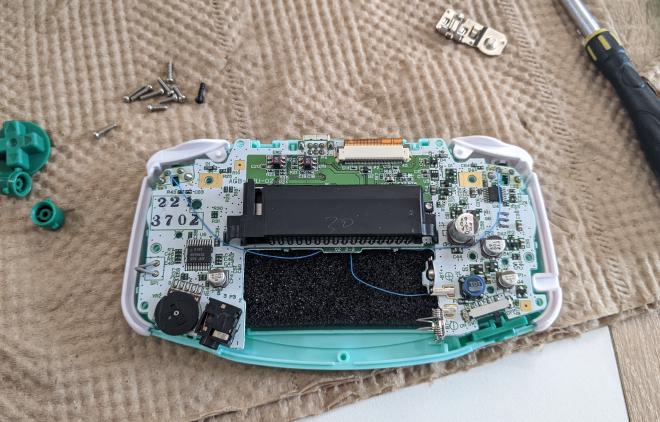
After that, I secured the motherboard to the front part of the shell. I then added the battery cover and the sticker for a more genuine look.
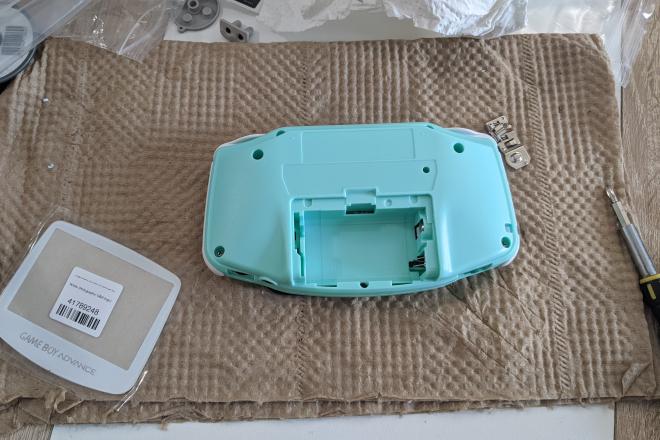
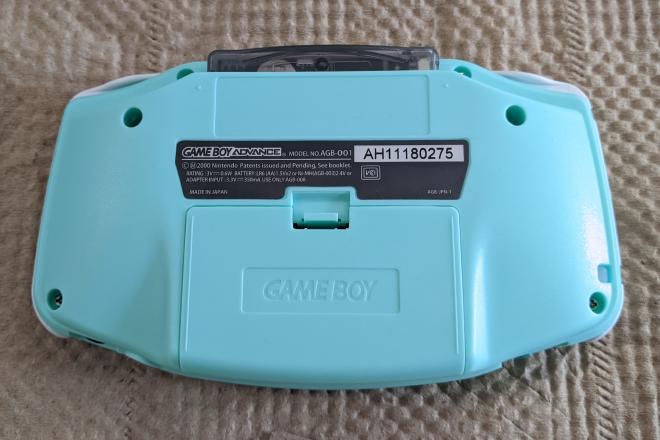
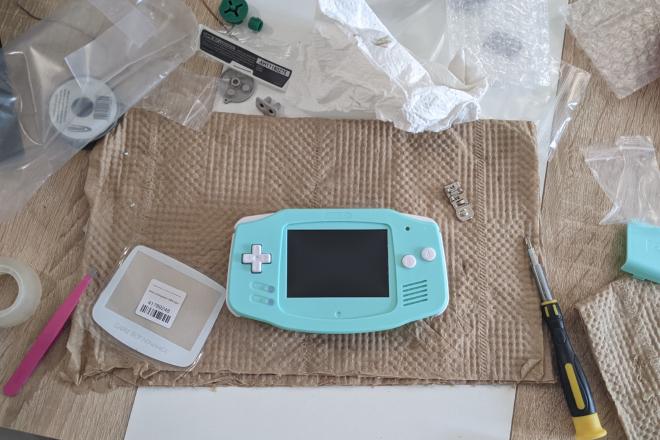
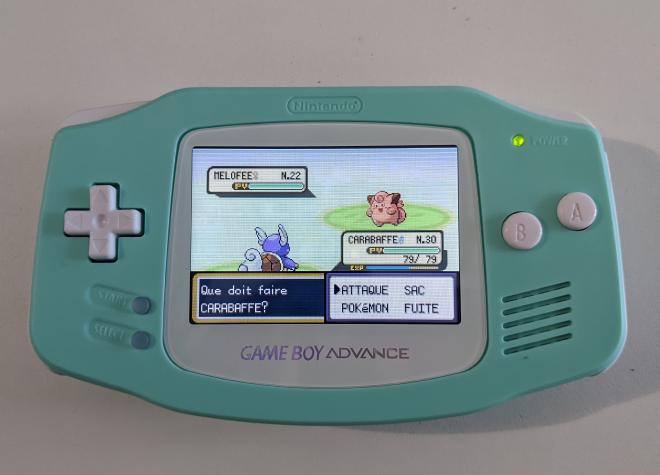
Before putting the glass lens, I made sure that there were no dust on the screen or the screen-facing side of the glass lens, since it would not be possible to clean it later. I finally removed the glass lens protection film. Here is the final result :
Now let’s beat the Pokémon league !